High voltage power supply operation process
High voltage power supply operation process
1. Connect the test product between the high voltage output terminal and the grounding terminal column.
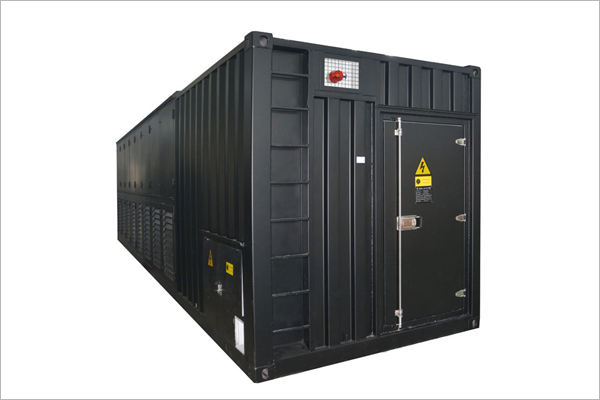
2MW load bank
2, plug in the power cable, switch on the power switch, "high voltage" indicator light (green) on, "high voltage" indicator light (red) off not on, voltage display meter and current display meter show zero value.
3. Turn the voltage and current setting clockwise to the end, and turn the voltage regulation rotation counterclockwise to zero.
4. Tap the "High pressure close" button, and the "high pressure close" indicator will light up (red). Slowly adjust the voltage adjusting knob to the desired test voltage value.
5, in the test process, press the voltage display lock button 0.75 times, and then lock the display value of the 0.75 times voltage display meter, it is inconvenient to maintain the display value.
6. Press the timing switch at any time, then the time relay will start. When the time reaches the predetermined time, the buzzer will sound an alarm and cut off the high voltage output.
7. During the test, if the load current exceeds 0-10% of the rated output current of the instrument, the "overcurrent" indicator will light up and the overcurrent protection function will be started to avoid damage to the equipment. The same is true for overpressure.
8. After the end of the test, after the counterclockwise voltage regulating knob turns zero, the voltage display meter will slowly return to zero. When the three display tables display zero values, tap the "High Voltage" button. The "High voltage" indicator (red) is off, and the "High voltage" indicator (green) is on. Then turn off the power switch.
9. When the electric capacity of the test product is large, turn the voltage adjusting knob to zero, and the output voltage display meter cannot return to zero, press the "high voltage" button, and then close. Then use the discharge bar discharge test, and then remove the test wiring.


